
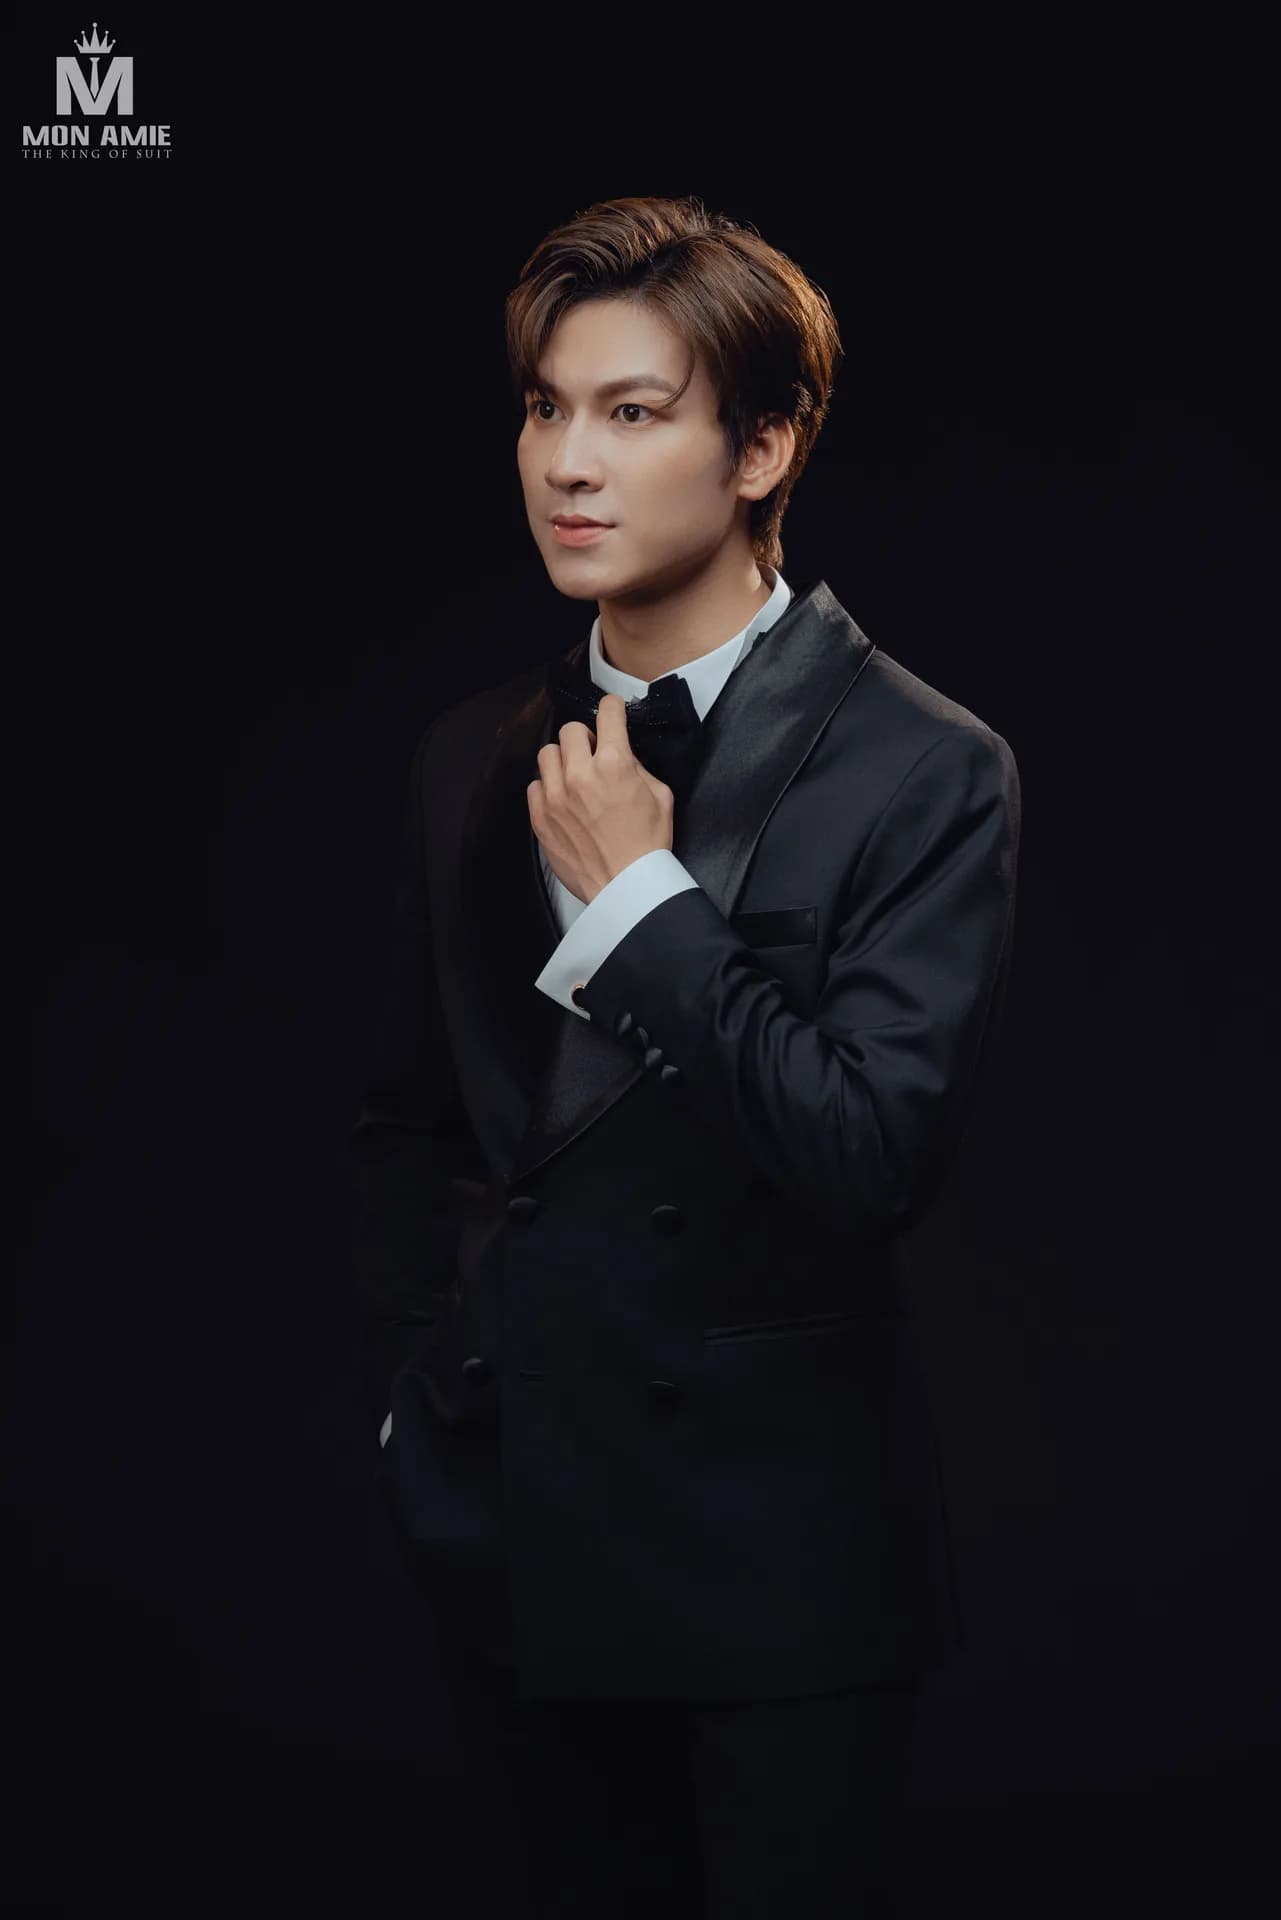
A bow tie with one wing big and one small can be called a relaxed touch, if you have the confidence, but it can just as easily be called a rushed morning. The difference lies in a few practice sessions. How to tie a bow tie sounds hard, but it is really a fixed sequence of eight moves, and after a few repetitions it becomes second nature. This article goes through it step by step, then covers what people often overlook: choosing the shirt collar, choosing the size of the bow tie and balancing the wings.
Quick answer
Tying a self-tie bow tie takes eight moves: place the bow tie around the neck with the right end about 4 to 5 cm longer, cross the long end over the short end, bring it up through the neck loop and pull it down, fold the short end into the front wing, let the long end hang over the front wing, fold the long end, push it through the opening behind the front wing, then adjust the two wings so they are balanced.
Types of bow tie: which one to tie?
Before tying, you need to know there are three types of bow tie:
- Self-tie bow tie: a long strip of cloth that you tie yourself. Tailors regard it as the standard because every bow tied comes out with its own character, and it can be adjusted to the neck.
- Pre-tied bow tie: already shaped, needing only to be hooked around the neck. Neat and quick, but it looks flat and uniform, like a costume.
- Clip-on bow tie: clipped to the collar. For children or for events that need a quick change.
If you are a beginner, practise with a self-tie bow tie in cotton or wool, because plain silk slips easily through the fingers. Once you are used to it, move to silk or satin for the tuxedo.
How to tie a self-tie bow tie: 8 steps
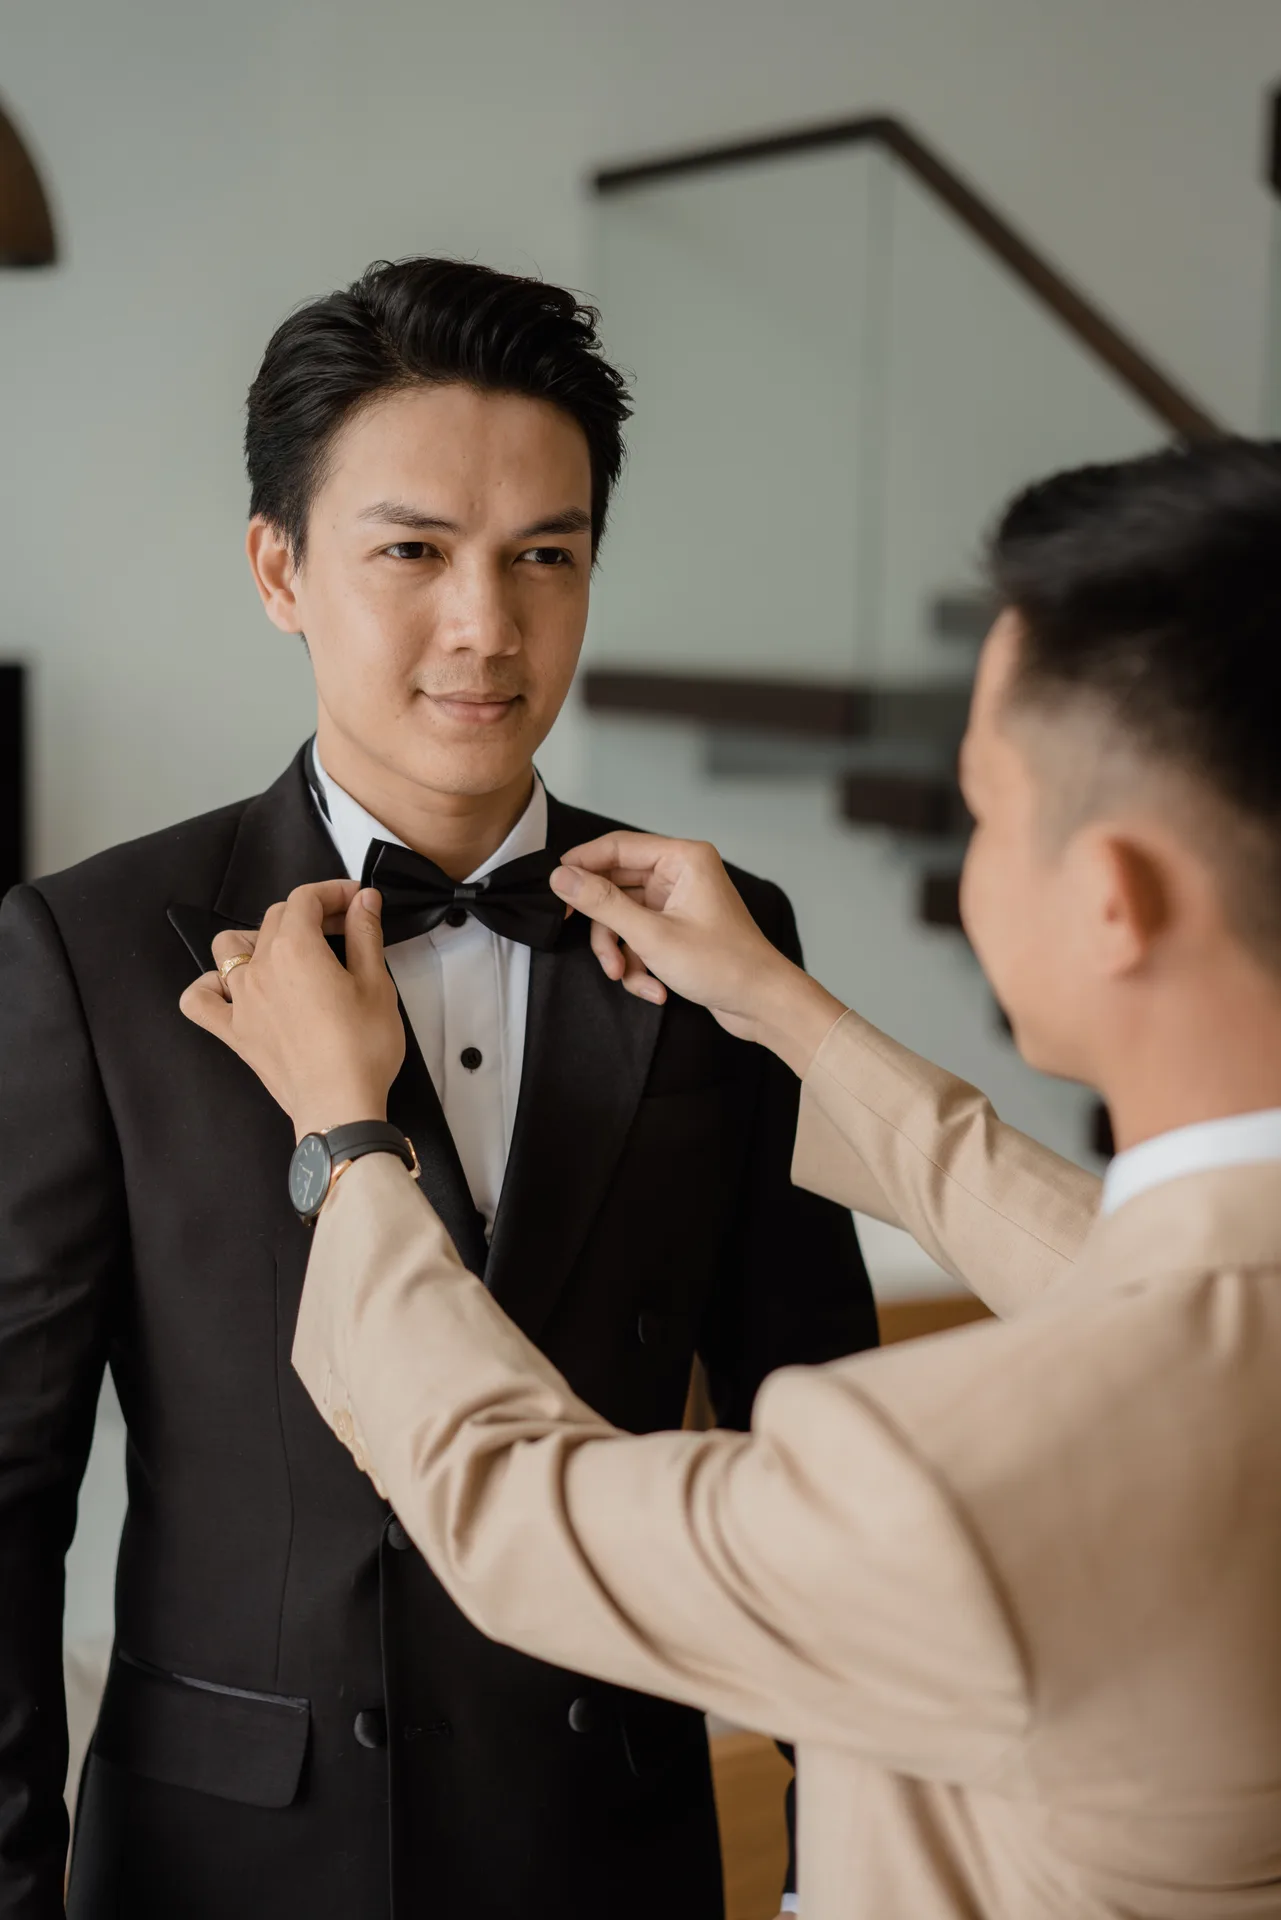
- Place the bow tie around the neck. Stand the shirt collar up, drape the bow tie around the back of the neck, and let the right end be about 4 to 5 cm longer than the left.
- Cross. Take the long end (the right) over the short end (the left).
- Bring it up. Bring the long end up beneath the neck loop, then pull it down. This step is like the first knot when you tie a shoelace.
- Form the front wing. Fold the short end (the left) horizontally into a butterfly shape, holding it in the middle with your thumb and index finger.
- Drop the long end. Let the long end hang straight down, covering the centre of the wing you have just folded. The cloth covering it becomes the "knot" in the middle of the bow.
- Fold the long end. Fold the long end in half into the second wing, as wide as the front wing.
- Thread it through the loop at the back. Behind the knot there is a small opening. Use your index finger to push the folded part through that opening, then gently pull the two wings sideways so the bow sits snug.
- Adjust the two wings. Adjust so the two wings are balanced, gently tighten the central knot, then smooth the wings so they sit neatly.
If any step leaves you fumbling, try it in front of a mirror and keep the bow tie from being too tight. After three or four practice runs, your hands will remember.
How to balance the two wings
- The two wings equal in height, with a slight difference in width, is normal. A hand-tied bow is never perfectly symmetrical, and that slight asymmetry is what makes it lively.
- Keep the wings soft, do not press them flat. A beautiful bow has a gentle fullness in each wing.
- Keep the knot small and neat. The central knot should not be larger than the two wings.
- Pull the wings by hand, not by the ends. Pulling the ends tightens the bow and creases it.
Matching the bow tie to the shirt collar and wing collar
A bow tie only looks right when it goes with the right type of collar:
| Collar type | How to wear | Suited to |
|---|---|---|
| Standard turndown collar | Button the collar all the way, the bow sits under the turned-down collar | Suit, blazer, everyday parties |
| Wing collar | The bow sits in front of the standing collar, with the two collar wings folded down to hug it | Tuxedo, formal dress, black tie |
The important thing is to fasten the shirt collar button all the way. A bow tie on a shirt with the collar left open looks as though you forgot to button it.
Choosing a bow tie size to suit your face and lapels
- Small face, slim neck: a small bow tie, with wings of about 5 cm.
- Square face, broad shoulders: a medium to slightly larger bow tie.
- Wide lapels (peak, shawl): a wider bow tie for balance.
- Narrow lapels: a small, neat bow tie.
A bow tie should not be wider than the widest part of your face. To choose a style for a wedding, the article bow ties for grooms: how to choose has more suggestions on fabric and colour.
Can a necktie be tied into a bow?
Yes, but it is not advisable. A necktie is thick, with a complex lining, so when it is folded into wings it becomes a lump that is hard to balance. A slim necktie in thin fabric can be tried for fun. If you really want to wear a bow tie, buy a self-tie bow tie, which has a strip of cloth in the right length and width.
A bow on a women's shirt: how does it differ from a bow tie?
The soft tie-neck strip on a women's shirt collar (usually called a pussy bow) does not have the fixed knot and two wings of a bow tie. Just tie one loose knot in the middle and let the two tails of the strip hang naturally, or tie them into a soft bow. The tip is to tie it slightly loose, letting the strip drape rather than hug the neck, because soft cloth looks most beautiful with a little slack.
A bow that sags, is crooked or too tight: quick fixes
- A bow that sags to the chest: the strip is too long or the collar is not fully fastened. Button the collar all the way, shorten the strip and tie it again.
- One wing big, one small: gently pull the small wing outward and push the big wing inward; do not undo the whole bow.
- A bow too tight, choking you: loosen the neck band of the bow tie by one notch before you start, because once it is tied it is very hard to loosen.
- A slick bow, the knot slipping: practise with a cotton or wool bow tie before moving to silk or satin, because those two slip much more.
- Twisted wings: smooth each wing straight along the grain of the cloth, and only then tighten the knot.
Tips from a Mon Amie master tailor
Do not wait until the morning of the wedding to practise. Tie it three days earlier, three times, and photograph each attempt to compare. A beautiful bow tie is one that has been practised. If you choose to have a tuxedo made, bring the bow tie you plan to use to the final fitting, so that the shirt collar and bow tie are in balance with each other. If you want a stylist to help with the whole outfit, Mon Amie's Groom Styling service pairs the bow tie, pocket square and cufflinks to the concept of the wedding day.
Common mistakes
- A bow strip that is not long enough for the neck: check the neck size before you buy.
- A bow tie that is too glossy for the suit fabric. A satin bow suits a tuxedo, not an ordinary wool suit.
- Adjusting the bow too many times after tying, which creases the fabric.
- Not buttoning the shirt collar all the way.
Frequently asked questions
How should a beginner tie a bow tie?
Start with a cotton self-tie bow tie, follow the 8 steps in front of a mirror and practise three or four times. Only move to silk or satin once your hands are used to it.
Is tying a necktie into a bow easier than tying a regular bow tie?
No. A necktie is thicker, so it is harder to make two balanced wings. A self-tie bow tie of the right length is still the easier choice.
Which collar should a men's shirt have for a bow tie?
A standard turndown collar for everyday occasions, and a wing collar for a tuxedo and black tie. Both must have the collar button fastened all the way.
Does a necktie tied into a bow look all right?
Only with a slim necktie in thin fabric. With a regular necktie, the result is usually big, thick and lopsided.
Conclusion
Learning how to tie a bow tie needs no special dexterity, only patience for the first three attempts. Once you know it, it becomes the detail that others remember about you. If you are preparing a tuxedo or a wedding suit, see more styles in the Mon Amie product catalogue or contact 0888.111.118 so a stylist can help.